







 Here you will find all the best coupon advice, tips and how to make the most of all your coupons!
 Are you looking for ways to stretch your dollar?





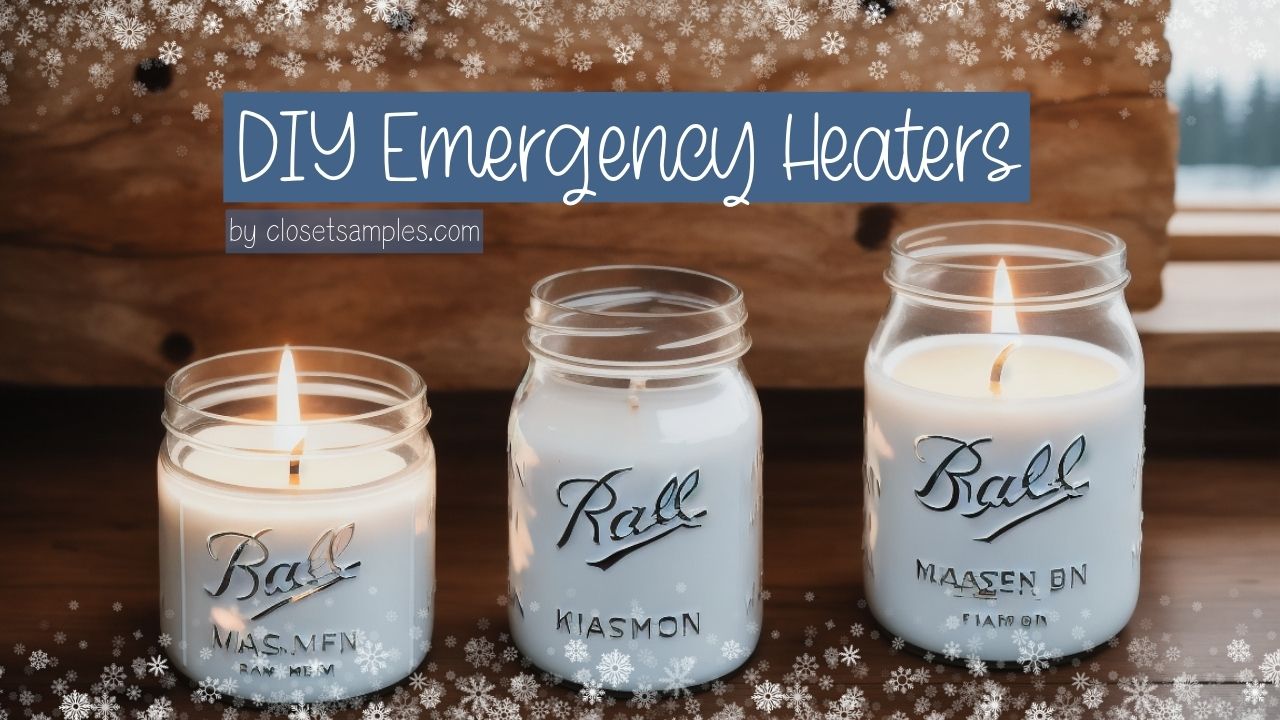

Brrr! Old Man Winter got you shivering like a Chihuahua in a snowsuit? Power flickering like a disco ball in molasses? Don't fret, my frosty friends, because I'm here with a life-saving (and budget-friendly) hack that'll turn your kitchen pantry into a cozy wonderland: DIY Crisco candle heaters!
That's right, ditch the ice sculptures and fuzzy blanket fortresses – we're talking warmth with a side of ingenuity. This trick is so old-school it practically predates Tinderbox Tuesday, but it's as reliable as your grandma's casserole recipe. So, gather round, survivalists and scaredy-cats alike, and let's get crafting!
By the way, check out my other article on how to make a DIY Cooktop with Tea Lights and a Muffin Tin!
What you'll need:
- Crisco (or any vegetable shortening): The hero of the hour, this handy hunk of fat stores heat like a champ. Bonus points for the nostalgia factor.
- Candles: Any size, any style, just let your inner pyromaniac (within reason) choose. Tea lights, pillars, even birthday candles in a pinch (though prepare for some melty mayhem).
- Metal containers or Glass jars: Think tuna cans, coffee tins, mason jars, or even a trusty cast iron skillet. Just make sure they're heat-resistant and not prone to doing the tango off the counter.
- Wicks: Lantern wicks are ideal, but cotton rope or fabric strips can work in a pinch. Remember, thicker wicks = longer burn times (and bigger smiles).
Step 1: Wick it, wick it good!
Grab your metal container and poke a hole in the center of the lid. Thread your wick through, leaving a generous length inside. Secure it with a dab of hot glue or by wedging it between the lid and rim. Think MacGyver, not master chef.
Step 2: Fill 'er up with fluffy warmth!
Time to unleash the Crisco power! Melt some shortening (low heat, folks, we don't want a grease geyser) and carefully pour it into your container, ensuring the wick reaches the bottom comfortably. Aim for about an inch of oil depth for tea lights and adjust accordingly for larger candles.
Step 3: Light it up and melt the winter blues away!
Carefully light your wick and position your makeshift heater on a stable, heat-resistant surface. Bricks, tiles, or a metal tray are your new best friends. Avoid carpets or furniture like the plague – fire safety first, always!
Bonus tips for maximum cozy vibes:
- Cluster power: Group several Crisco can heaters together for a concentrated heat zone. Think personal sunbeam, not community bonfire.
- Reflective boost: Line the back of your container with aluminum foil to reflect heat outwards. Because science!
- Ventilation is key: Crack open a window slightly to prevent carbon monoxide buildup. We want happy lungs, not sleepy heads.
- Never leave burning heaters unattended, and extinguish them before leaving the room. Safety first, second, and always.
Remember: These DIY heaters are temporary heroes, not replacements for proper heating systems. But in a pinch, they'll keep you toasty until the lights come back on. So stay safe, stay warm, and embrace your inner kitchen alchemist!
IMPORTANT FACT: If you are using a heater of ANY kind - even a desktop - it is important to remember to plug them DIRECTLY INTO A WALL! Not a surge bar or anything - ONLY DIRECTLY INTO THE WALL! Even the desktop size heaters draw a lot of power which CAN (and many do) melt surge bars and such. These should not be turned on or used without constant supervision for safety.
P.S. Don't forget to invest in proper safety equipment like fire extinguishers and carbon monoxide detectors. They're worth their weight in gold (or should I say, watts?). Learn how my smoke detector saved our lives and where you may be able to get a free smoke detector if you qualify!
Now go forth and conquer those chilly nights! Share this nifty hack with your friends and family, and let's all turn up the heat on preparedness, one Crisco candle at a time!
Happy prepping and stay cozy!
Psst... Check out this emergency gear on sale while you are here!

Image credit: Freepik
FAQs: DIY Emergency Heaters with Crisco and Candlelight
Q: Are these DIY heaters safe to use?
A: While these emergency heaters can be a lifesaver in a pinch, it's crucial to prioritize safety. Here are some key points to remember:
- Never leave a burning heater unattended. Extinguish it before leaving the room or going to sleep.
- Use heat-resistant containers and stable surfaces. Avoid placing the heater on anything flammable like carpets or furniture.
- Ventilate the room slightly to prevent carbon monoxide buildup. Crack open a window a little, but not enough to extinguish the flame.
- Keep children and pets away from the open flame.
- These heaters are not meant for long-term use. Their primary purpose is to provide temporary warmth during power outages or other emergencies.
Q: What type of vegetable shortening is best to use?
A: Any type of vegetable shortening will work, but Crisco is a popular choice because it has a high smoke point and burns cleanly. Avoid butter or margarine, as they have lower smoke points and can be a fire hazard.
Q: How long will these heaters last?
A: The burn time depends on the size of the container, the type of shortening, the size of the wick, and the size of the candle. A small tea light candle in a tuna can with a thin wick might only last a couple of hours, while a larger candle in a pot with a thicker wick could burn for several hours.
Q: Can I use something other than candles for the flame?
A: In a pinch, you could use other combustible materials like lamp oil or even alcohol gel fuel. However, these options can be more dangerous and should only be used as a last resort. Always prioritize safety and use caution when dealing with open flames.
Q: Are there any other tips for making these heaters more effective?
A: Absolutely! Here are a few bonus tips:
- Cluster several heaters together for more concentrated heat.
- Line the back of your container with aluminum foil to reflect heat outwards.
- Use a thicker wick for longer burn times.
- Keep the shortening level topped up to maintain the flame.