A dryer vent or duct is key to the operation of your clothes dryer. Without it, the dryer cannot dry your clothing, and there is even a significant risk of fire. Installing a dryer vent properly, keeping it clean, and troubleshooting minor problems are simple, inexpensive, and essential ways to help your dryer function properly.
For those of you who do not know how a dryer works, let me give you a little run down. Clothes dryers function by tumbling wet clothing through heated air in a rotating drum. This heated air evaporates the moisture, picks it up, and utilizing a fan, sends it out of the dryer. On the back of every dryer is a 4-inch diameter metal vent that expels the water-laden air. Because you cannot blow this air into your house interior, the air must be sent outside. The air is moved from the dryer to the exterior with a flexible, semi-rigid, or rigid tube. One end of this tube attaches to the dryer, and the other end attaches to a hole cut in the side of the house.
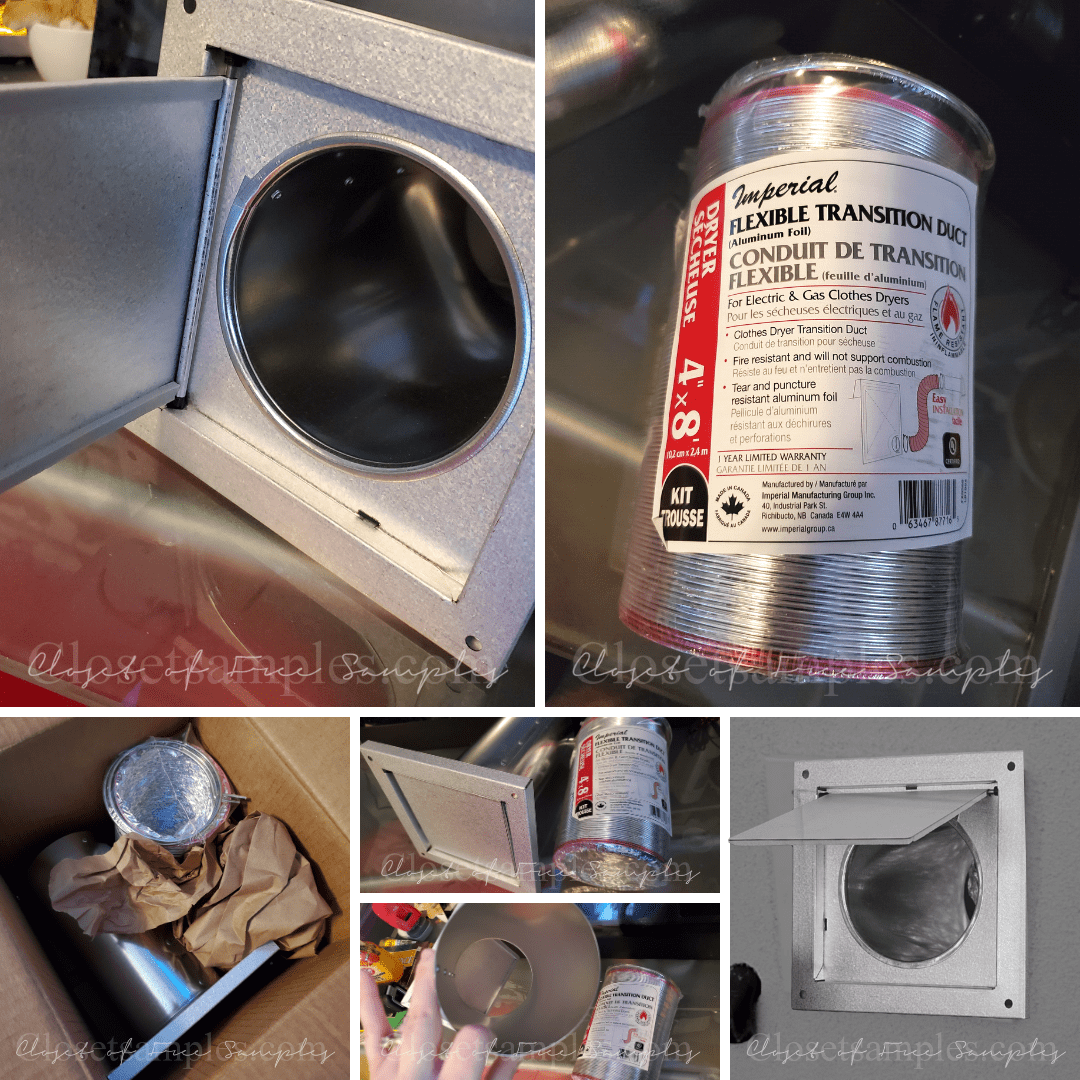
Installing a vent and tube to a dryer is a simple project, especially since it is possible to buy complete dryer vent kits with all the items you need. I got the
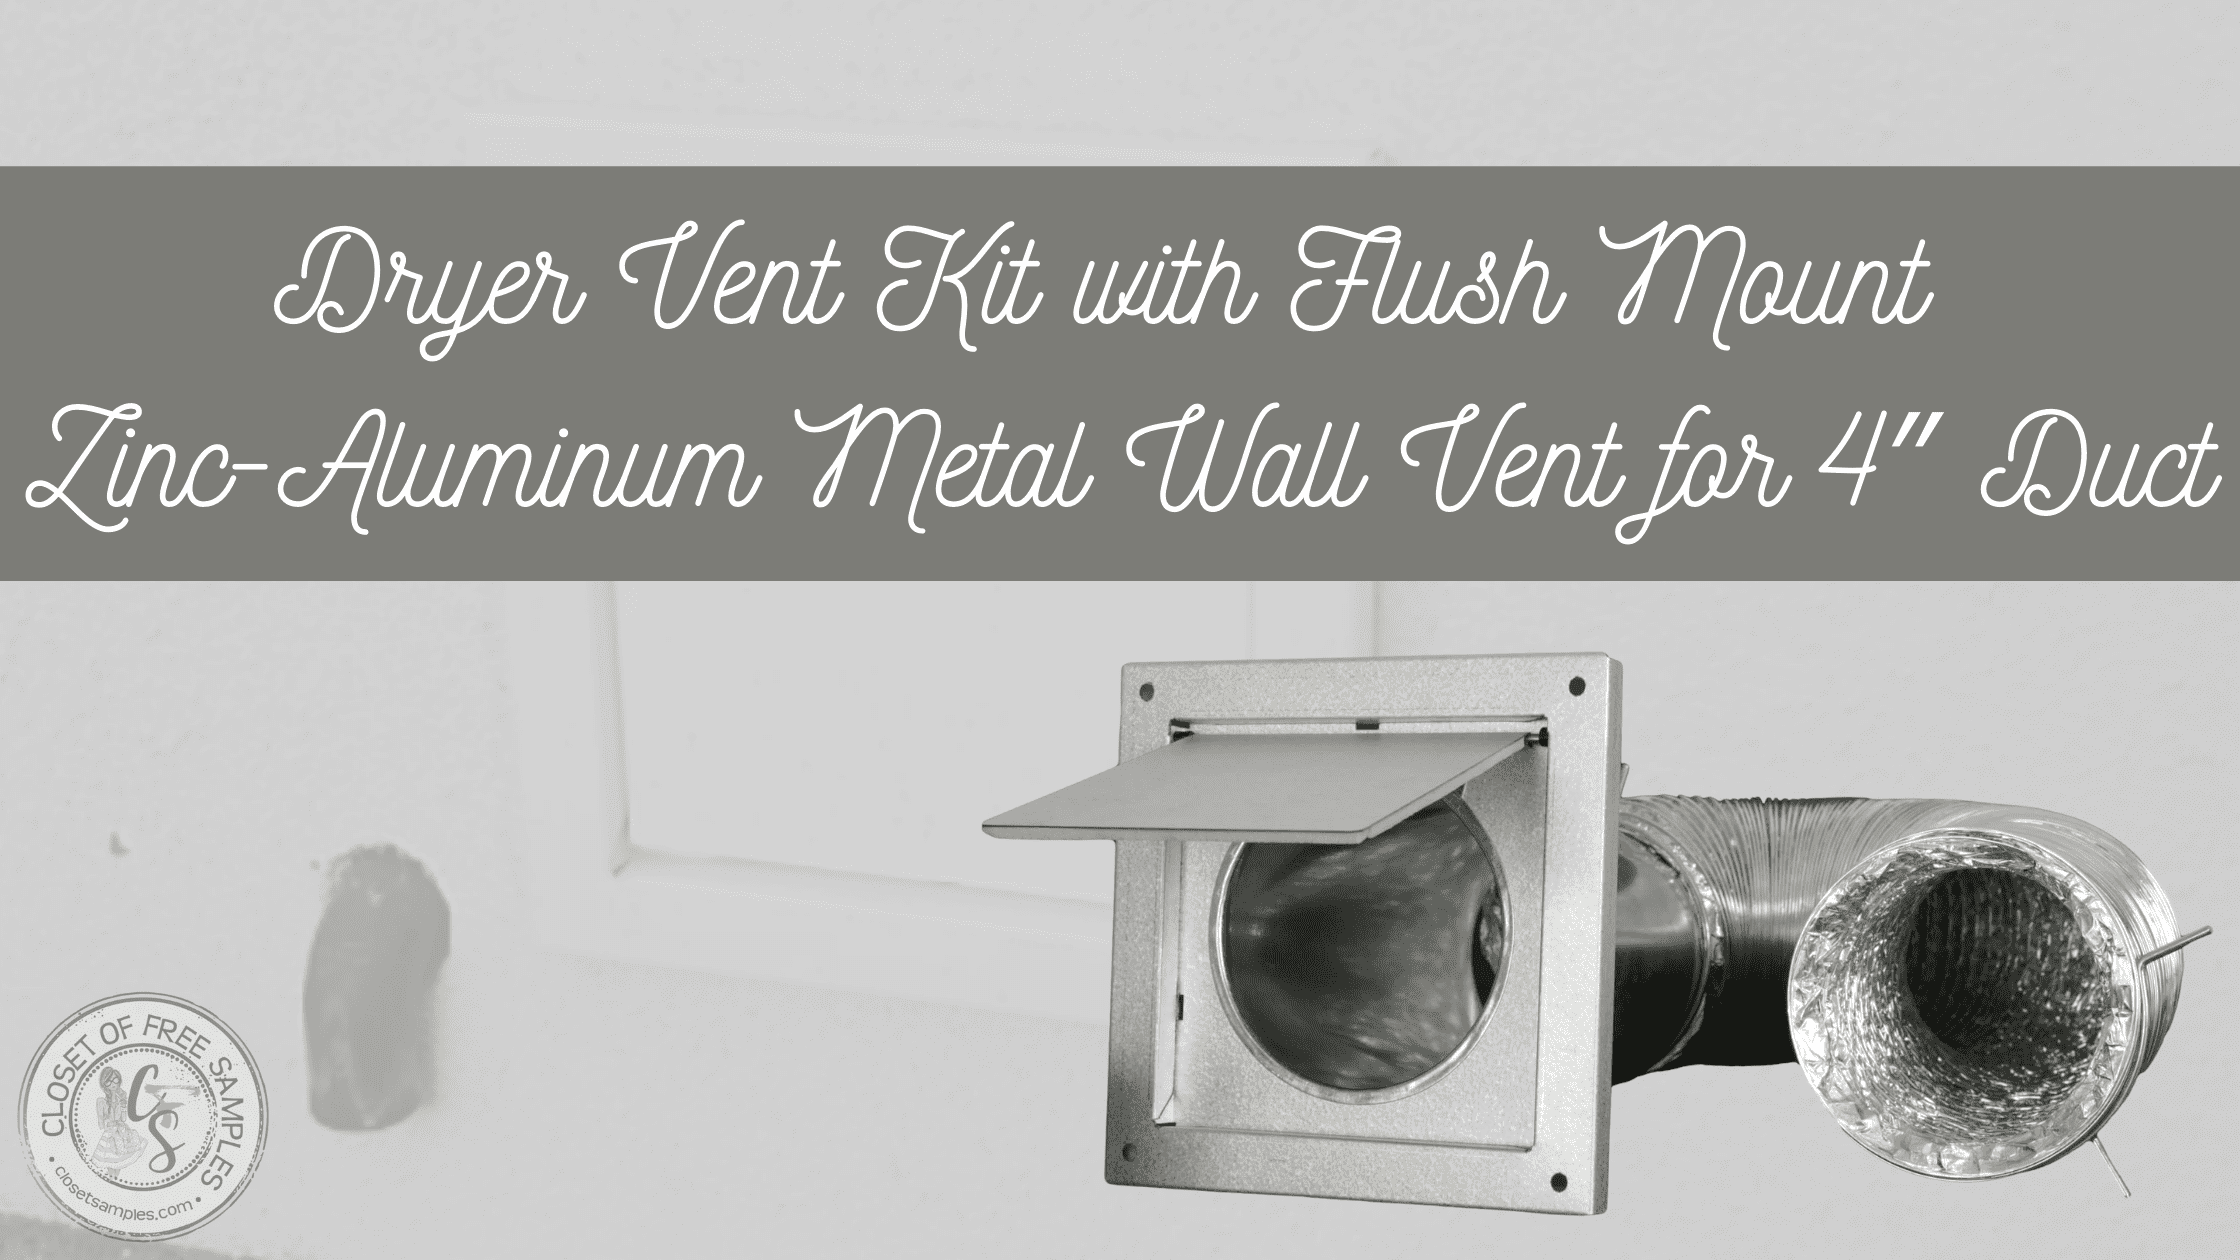
FAMCO Dryer Vent Kit with Flush Mount to try out for myself. The FAMCO Dryer Vent Kit is an all-in-one kit for 4″ through-wall dryer ventilation and comes with a high-quality flush mount Zinc-Aluminum 4″ Wall Vent w/Damper and 8-1/4″ tube, 4″x8′ Non-flammable Aluminum Flex Foil Duct, and all-metal 4″ clamp rings. Please note that the mounting screws are not included in this kit. However, it does come with a 1-year warranty against product defects and workmanship.
I found this particular dryer vent kit to be well made, sturdy, and seems to get the job done as it is intended to do. I had my husband do all the installation work, which only took a few minutes. The hardest part was moving the dryer (and all my junk) out the way. Once that was done, the installation was a breeze to replace our previous dryer vent. Basically, all you need to do is from the outside, insert the vent cap and pipe assembly through the hole, then screw it into place. In most setups, a four-inch diameter flexible metal tube attaches to the dryer's rear vent with spring or plastic clips. Attach the other end of the metal tube to the vent cap and pipe assembly that is attached to the house. That’s it. Simple.
We are quite pleased with our new dryer vent kit as ours needed to be replaced. This is a great replacement option that doesn’t break the bank.
